Introduction
In the era of smart devices, we can now control robots wirelessly from our Android smartphones. One of the most user-friendly ways of doing this is through a virtual joystick. This Joystick Controller allows users to swipe left, right, up, or down to move the robot. With BlueBot Controller on your Android phone, you can easily control your robot’s movements. This guide will explain how to set up the joystick controller on your phone and use it to wirelessly control your robot.
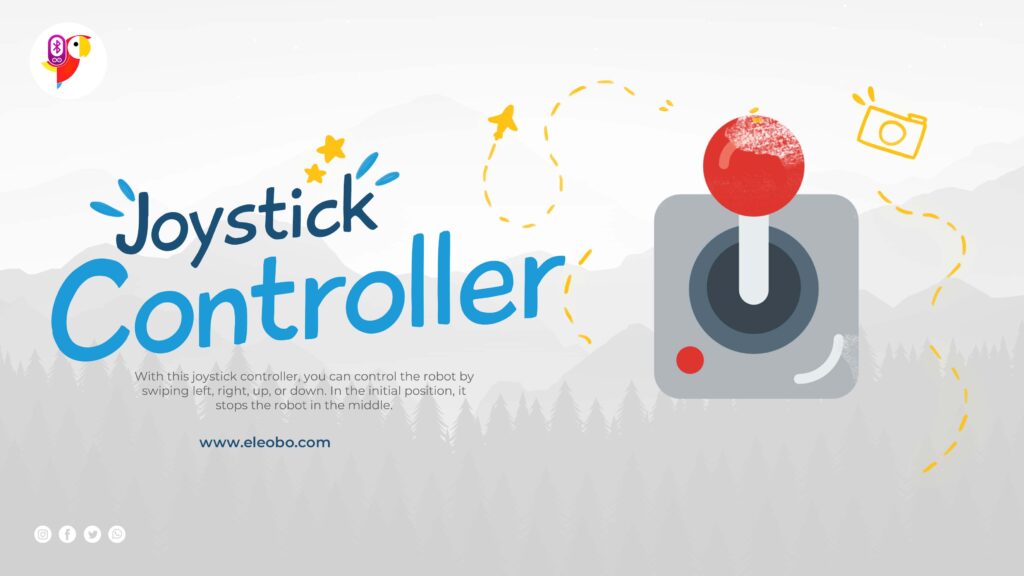
Table of Contents
What is a Virtual Joystick Controller?
A virtual joystick controller on Android is a touch-based interface that mimics the movement of a physical joystick. It allows users to control devices, such as robots, by simply swiping on their phone screen in specific directions. The swipes correspond to commands sent via Bluetooth to the robot.
In this blog, we’ll set up the BlueBot Joystick Controller, which allows the user to control a robot wirelessly using this virtual joystick. You’ll learn how to send commands like left, right, up, and down to control the robot, and how the robot responds to these gestures.
What is the BlueBot Controller App?
The Ultimate BlueBot Joystick Controller app is a mobile application designed to control Bluetooth-enabled devices. The Blue Bot Controller is an all-in-one Bluetooth app designed for controlling devices like LEDs, robots, and sensors. It offers advanced features tailored for hobbyists, students, and developers alike.
With support for gesture, voice, IoT, and custom controls, the app enables seamless device management. Its user-friendly interface makes exploring wireless communication and automation effortless and engaging for all users.
Controllers:
- LED Control
- Robot Control
- RGB Control
- Text Control
- IoT Control
- Matrix Control
- Voice Control
- Gesture Control
- Sensor Control
- MPU6050 Sensor : Gesture and motion detection.
- Potentiometer Sensor: Analog value adjustments.
- PIR Sensor: Motion detection triggering.
- Ultrasonic Sensor: Distance and proximity measurements.
- Custom Control
- Timed Control
- Servo Control
- Joystick Control
- Inauguration Control
Features of the BlueBot Controller App
- Simple Command Interface: Easily send commands like “ON” and “OFF” to control devices.
- Customizable Buttons: Create custom commands to suit your project needs.
- Real-Time Control: Instantly see the results of your actions.
- Compatibility: Works seamlessly with Arduino and Bluetooth modules like HC-05 and HC-06.
How to Download the BlueBot Controller App
To get started, download the BlueBot Controller App from the official source:
Make sure you have a Bluetooth-enabled smartphone to pair with your project.
Why Use a Virtual Joystick to Control Your Robot?
There are several reasons why using a virtual joystick on your Android phone to control a robot is beneficial:
- No Physical Hardware Required: Unlike traditional joystick controllers that need to be connected to the robot, you only need your phone with the BlueBot app installed. This makes it easy to set up and use.
- Wireless Control: The Bluetooth communication allows for seamless and wireless control of the robot, without the need for wires and additional hardware.
- Precise Movement: The virtual joystick on the Android phone offers intuitive, real-time control, which allows you to make precise movements by simply swiping in the desired direction.
- Compatibility: This method is perfect for users who don’t have a physical joystick controller but still want to control their robots using their smartphones.
Setting Up the Joystick Controller on Your Android Phone
To set up the virtual joystick and control your robot wirelessly, follow these steps:
Step 1: Install the BlueBot Controller App
Download and install the BlueBot Controller app from the Google Play Store on your Android phone. This app will allow you to control the robot using the virtual joystick interface.
Step 2: Pair the Phone with the Robot via Bluetooth
Turn on the Bluetooth on your phone and the robot. Make sure both devices are paired correctly. Once paired, the robot should be ready to receive commands from your phone.
Step 3: Launch the BlueBot Controller App
Open the app, and you will see a joystick interface on your screen. The joystick will be in the middle by default.
Programming the Robot to Respond to Joystick Commands
Once the BlueBot app is set up on your Android phone, you need to program the robot to interpret the Bluetooth signals sent by the app. You will use Bluetooth communication to send directional commands (left, right, up, and down) to the robot.
Here’s the sample code to receive Bluetooth signals on the robot and move it accordingly.
Sample Arduino Code for Bluetooth Communication
#include <SoftwareSerial.h>

// Set up Bluetooth serial communication
SoftwareSerial btSerial(2, 3);  // RX, TX pins for Bluetooth module (e.g., HC-05)

// Define pins for controlling motors
const int motorLeftPin = 4;   // Pin for controlling left motor
const int motorRightPin = 5;  // Pin for controlling right motor
const int motorForwardPin = 6;  // Pin for controlling forward movement
const int motorBackwardPin = 7;  // Pin for controlling backward movement

void setup() {
  // Start Bluetooth serial communication
  btSerial.begin(9600);

  // Initialize motor control pins as OUTPUT
  pinMode(motorLeftPin, OUTPUT);
  pinMode(motorRightPin, OUTPUT);
  pinMode(motorForwardPin, OUTPUT);
  pinMode(motorBackwardPin, OUTPUT);

  // Print a message to let the user know the device is ready
  Serial.begin(9600);
  Serial.println("Bluetooth Control Ready");
}

void loop() {
  if (btSerial.available()) {
    // Read the incoming Bluetooth command
    char command = btSerial.read();

    // Print the received command to the serial monitor for debugging
    Serial.print("Received command: ");
    Serial.println(command);

    // Perform actions based on the received command
    switch (command) {
      case 'L': // Move Left
        moveLeft();
        break;
      case 'R': // Move Right
        moveRight();
        break;
      case 'F': // Move Forward
        moveForward();
        break;
      case 'B': // Move Backward
        moveBackward();
        break;
      case 'S': // Stop
        stopMovement();
        break;
      default:
        Serial.println("Unknown command");
        break;
    }
  }
}

void moveLeft() {
  digitalWrite(motorLeftPin, HIGH);
  digitalWrite(motorRightPin, LOW);
  digitalWrite(motorForwardPin, LOW);
  digitalWrite(motorBackwardPin, HIGH);
  Serial.println("Moving Left");
}

void moveRight() {
  digitalWrite(motorLeftPin, LOW);
  digitalWrite(motorRightPin, HIGH);
  digitalWrite(motorForwardPin, HIGH);
  digitalWrite(motorBackwardPin, LOW);
  Serial.println("Moving Right");
}

void moveForward() {
  digitalWrite(motorLeftPin, LOW);
  digitalWrite(motorRightPin, HIGH);
  digitalWrite(motorForwardPin, LOW);
  digitalWrite(motorBackwardPin, HIGH);
  Serial.println("Moving Forward");
}

void moveBackward() {
  digitalWrite(motorLeftPin, HIGH);
  digitalWrite(motorRightPin, LOW);
  digitalWrite(motorForwardPin, HIGH);
  digitalWrite(motorBackwardPin, LOW);
  Serial.println("Moving Backward");
}

void stopMovement() {
  digitalWrite(motorLeftPin, LOW);
  digitalWrite(motorRightPin, LOW);
  digitalWrite(motorForwardPin, LOW);
  digitalWrite(motorBackwardPin, LOW);
  Serial.println("Stop Movement");
}
This Arduino code listens for Bluetooth commands sent from the BlueBot app and moves the robot accordingly.
Conclusion
Joystick to Controller: In this guide, you learned how to control a robot wirelessly using a virtual joystick on your Android phone through the BlueBot Controller app. By swiping left, right, up, or down, you can send commands to the robot via Bluetooth, making it easy and intuitive to control your robot in real-time. The setup is simple and requires minimal hardware, making it an ideal solution for anyone looking to add wireless control to their robot.
Download BlueBot Controller App and start your journey today!