Table of Contents
Introduction
If your Arduino servo motor is not moving or jittering , the most likely culprit is an inadequate power supply, meaning the battery or power source isn’t providing enough current to properly drive the servo motor; ensure you’re using a separate power supply dedicated to the servo and check that all connections are secure and properly grounded.
If your Arduino servo motor is not moving or jittering, don’t worry! This is a common issue, but the good news is that it can be fixed quickly. Whether you’re a beginner or an experienced electronics enthusiast, this guide will help you troubleshoot and fix servo motor problems in your Arduino projects. We will explore the reasons behind servo jittering, not responding, or behaving erratically and provide solutions to get your servo motor running smoothly.
Why is Your Arduino Servo Motor Not Moving or Jittering?
Before jumping into solutions, let’s understand why the Arduino servo motor is not moving or jittering. The most common causes include:
- Incorrect wiring – A wrong connection can cause the servo to malfunction.
- Insufficient power supply – Servos need adequate current to operate correctly.
- Weak signal from the Arduino – If the signal is noisy or weak, the servo may jitter or not move at all.
- Software issues – Incorrect code or delays in the loop can disrupt servo operation.
- Faulty servo motor – Sometimes, the servo itself may be defective or worn out.
- Interference from other components – Electrical noise or interference from other modules can affect servo performance.
- Overloading the servo – If the servo is under too much mechanical load, it may not move properly.
Now, let’s dive into the solutions!
How to Fix an Arduino Servo Motor Not Moving or Jittering
1. Check the Wiring
One of the most common mistakes is incorrect wiring. Ensure that your servo motor is connected properly:
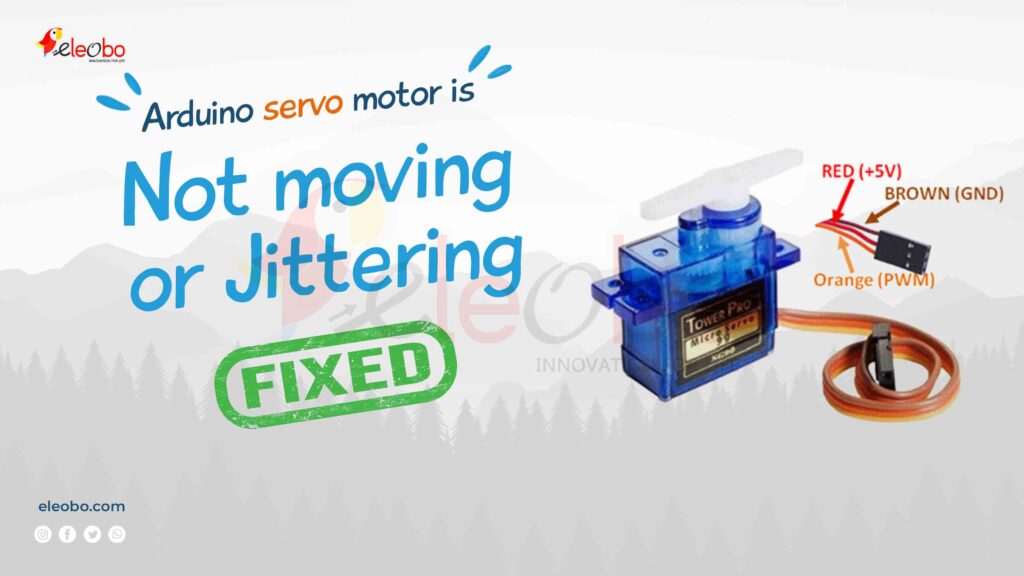
- Red wire → Connect to 5V (or external power source for high-torque servos).
- Black/Brown wire → Connect to GND.
- Yellow/White wire → Connect to a PWM pin on the Arduino (e.g., pin 9 or 10).
If your Arduino servo motor is not moving or jittering, double-check the wiring and ensure there are no loose connections.
2. Provide Sufficient Power
A common reason for jittering is an inadequate power supply. Servos draw more current than the Arduino can supply directly. If you’re using multiple servos or a high-torque servo, use an external power source (e.g., 6V battery pack or DC power supply).
Make sure to connect the ground (GND) of the external power supply to the Arduino GND to maintain a common reference.
3. Use a Proper Servo Library
Always include the Servo.h library in your Arduino sketch. This ensures your Arduino correctly communicates with the servo.
#include <Servo.h>
Servo myServo;

void setup() {
  myServo.attach(9); // Attach servo to pin 9
}

void loop() {
  myServo.write(90); // Move servo to 90 degrees
  delay(1000);
  myServo.write(0);  // Move servo to 0 degrees
  delay(1000);
}
If your Arduino servo motor is not moving or jittering, try changing the PWM pin (use pin 9 or 10) and ensure the code is correctly written.
4. Reduce Signal Noise
If your servo motor is jittering, signal noise could be the problem. Use a capacitor (100µF – 470µF) between VCC and GND to filter out fluctuations. Also, use short, high-quality wires to avoid electrical interference.
5. Avoid Delay in Code
Delays in code can cause the Arduino servo motor to not move or jitter. Instead of using delay(), use millis() to manage timing without blocking the CPU.
Example using millis():
#include <Servo.h>
Servo myServo;
unsigned long previousMillis = 0;
int position = 0;

void setup() {
  myServo.attach(9);
}

void loop() {
  unsigned long currentMillis = millis();
  if (currentMillis - previousMillis >= 1000) {
    previousMillis = currentMillis;
    position = (position == 0) ? 90 : 0;
    myServo.write(position);
  }
}
6. Check for a Faulty Servo
If your Arduino servo motor is not moving or jittering even after checking wiring and code, try using a different servo motor. Sometimes, servos wear out or have internal damage.
7. Use a Separate Servo Driver
For multiple servos, use a PCA9685 servo driver. This offloads power and signal handling from the Arduino, ensuring smooth operation without jittering.
8. Reset and Calibrate the Servo
If a servo is misbehaving, reset it by manually turning the shaft to its center position before powering it up. Also, test the servo with a servo tester module to verify if the issue is with the servo or the Arduino setup.
9. Prevent Overloading the Servo
If your servo is struggling to move, check for excessive mechanical load. Reducing the weight or friction can improve performance and prevent overheating.
10. Ensure the Right Servo Type
Different servos have different voltage and current requirements. Make sure you’re using a servo suitable for your project and that your power source matches its specifications.
Conclusion
Fixing an Arduino servo motor is not moving or jittering is easier than you think! By following these troubleshooting steps—checking wiring, using a proper power supply, writing efficient code, reducing signal noise, and testing with different servos—you can get your servo motor working perfectly.
With these simple yet effective fixes, your Arduino servo motor will operate smoothly, making your projects successful and frustration-free.
Now, go ahead and implement these fixes in your Arduino projects, and watch your servo motor move smoothly and accurately!
Have you faced similar issues? Share your experiences and fixes in the comments!
Arduino servo motor is not moving or jittering hop fixed.
Related Articles: Other Arduino IDE Errors
Download BlueBot Controller App and start your journey today!